Integration
GoLogin
GoLogin offers a comprehensive solution for integrating proxies, managing browser fingerprints, and handling accounts. It empowers individuals and businesses to navigate the internet securely, enhance privacy, and boost productivity.
Setting up proxies using GoLogin
Download the GoLogin application, then open it and sign up to create your first profile.
In your dashboard, click "My Proxies" in the left sidebar. A Pending proxy needs "Start proxy" before it works.
Each proxy shows an "HTTP proxy" and a "SOCKS5 proxy" line in the Connection column: the same host, with a different port for each protocol. Under Credentials, "Copy username" copies your username; the eye icon reveals your proxy password and "Copy password" copies it. Your account password isn't needed.
In the new profile (or the "Settings" of an existing one), open the "Proxy" tab and choose "Your proxy". Enter your host and port, your username as the "Login" and your password. GoLogin selects HTTP or SOCKS by itself; check that it matches your port (the HTTP port for HTTP, the SOCKS5 port for SOCKS5) and change it if needed.
If you see a "Change IP URL" field, you can paste your proxy's change-IP link there: in the dashboard, open the proxy's ⋮ menu and click "Copy change-IP link". Treat that link like a password, since anyone who has it can change your IP.
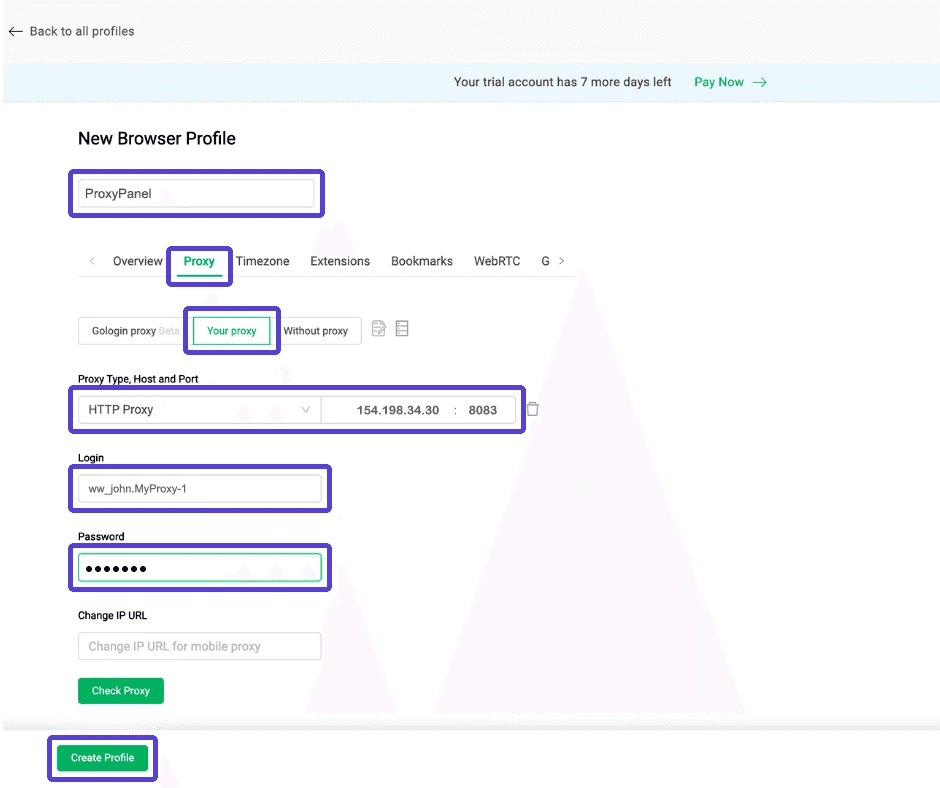
That’s it! You’re all set. Click the “Run” button and wait for the browser to load.
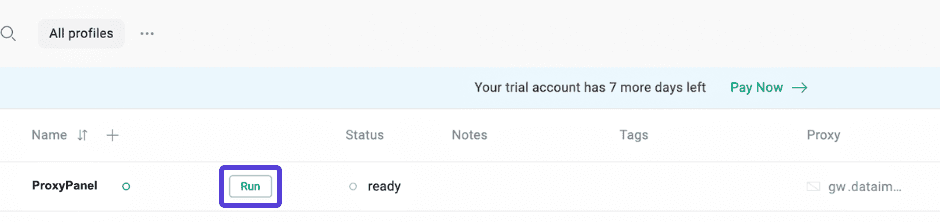
Enjoy the benefits of enhanced anonymity and security with ease by selecting, entering details, testing the connection, and applying it to your accounts in GoLogin.